
How to Create a Package with the MSIX Packaging Tool? -2 – Install and Configure Apps on a Session Host
After you choose to package your application on an existing virtual machine, you must provide information about to the app. The tool will try to autofill these fields based on the information available from the installer. If not, then you must provide all the information on the package information page. See Figure 9-5.
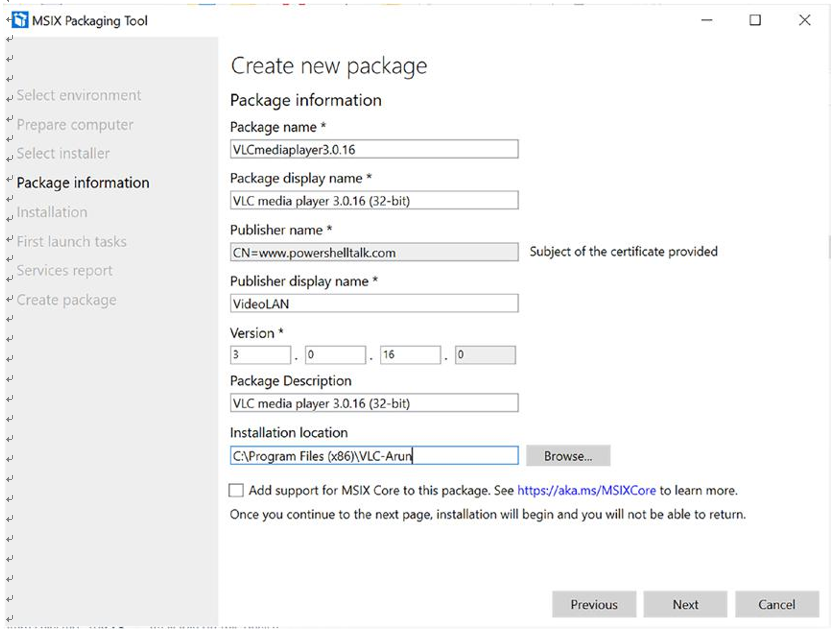
Figure 9-5. MSIX packaging tool, package information
This is the installation phase where the tool is monitoring and capturing the application install operations. The tool will launch the installer in the environment that was specified previously, and you’ll need to go through the installer wizard to install the application. Make sure the installation path matches what was defined earlier in the package information page. See Figure 9-6.
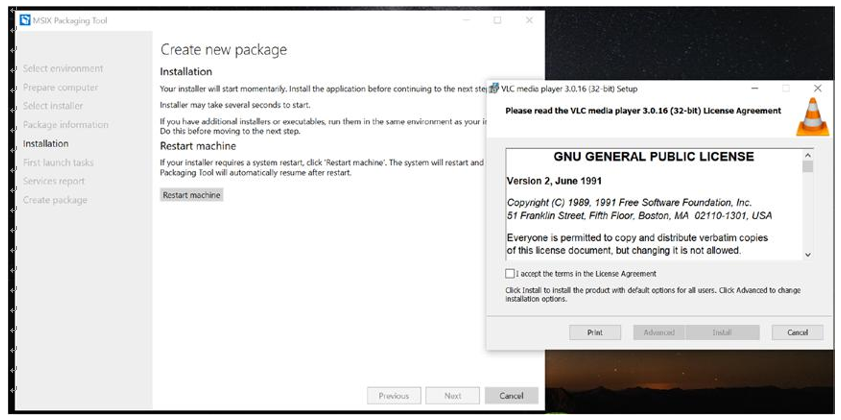
Figure 9-6. MSIX packaging tool, restarting
This page shows application executables that the tool captured. It’s recommended to launch the application at least once, to capture any first launch tasks. You can launch the executable by selecting it and then clicking Run. You can also remove any unnecessary entry points by selecting it and then clicking Remove.
Click Next, and you’ll be prompted with a pop-up asking for confirmation that you’re finished with the application installation and managing first-launch tasks. If you’re done, click “Yes, move on.” See Figure 9-7 and Figure 9-8.
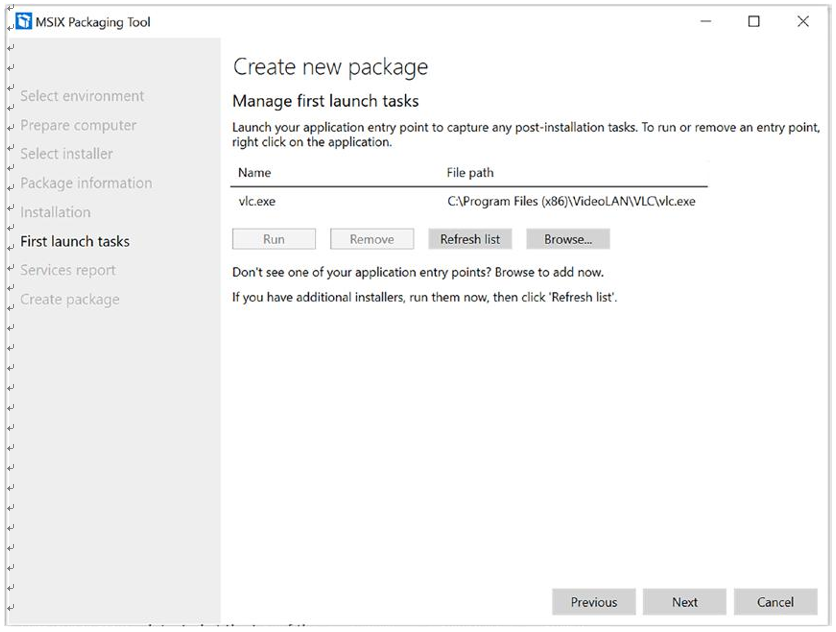
Figure 9-7. MSIX packaging tool, first-launch tasks
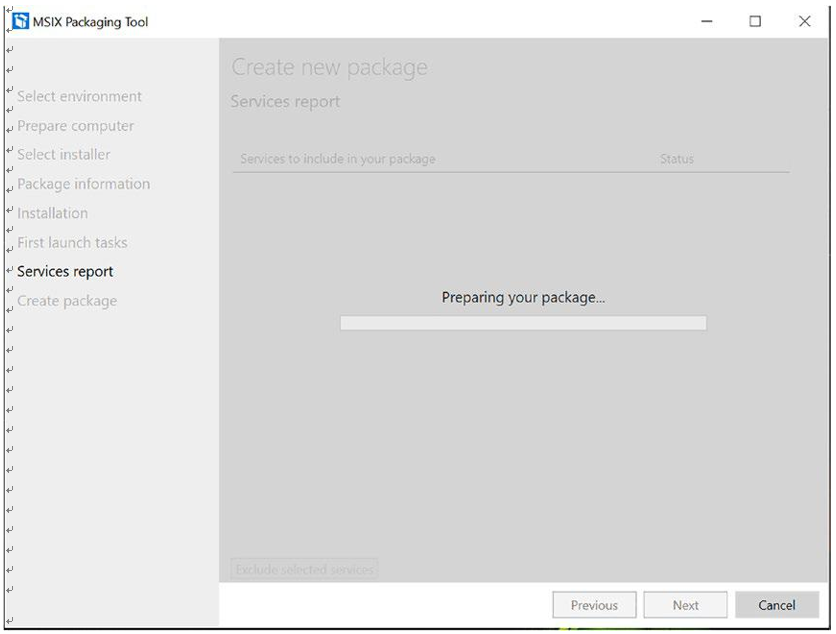
Figure 9-8. MSIX packaging tool, preparing package
The MSIX Packaging tool can convert an installer with services, and it will be visible on the Services report page. If no services were detected, you will still see this page, but it will be empty with a message that “No services were detected” at the top of the page.
In my case, I am using VLC, which does not install any services, so no service was detected. See Figure 9-9.
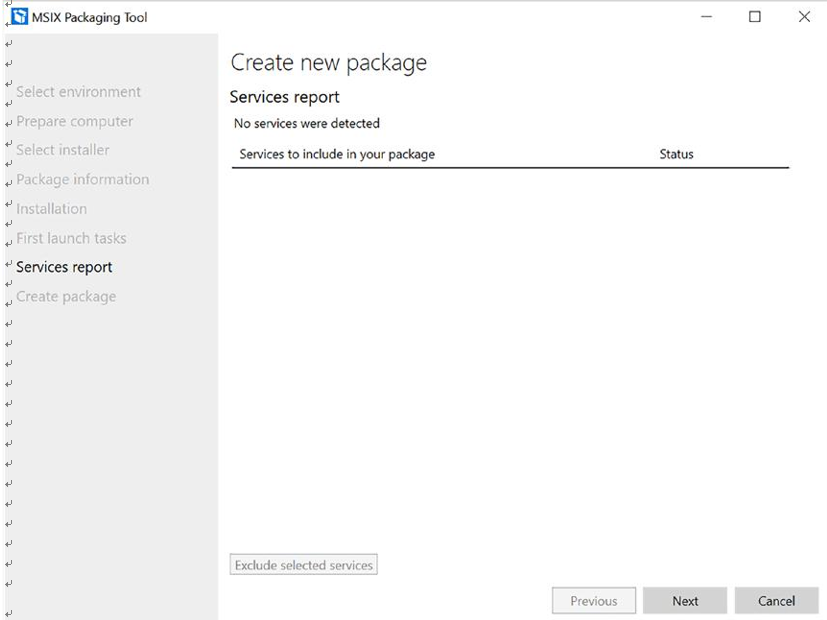
Figure 9-9. MSIX packaging tool, service report
Provide a location for saving the MSIX package. Click Create to create the MSIX package. See Figure 9-10.
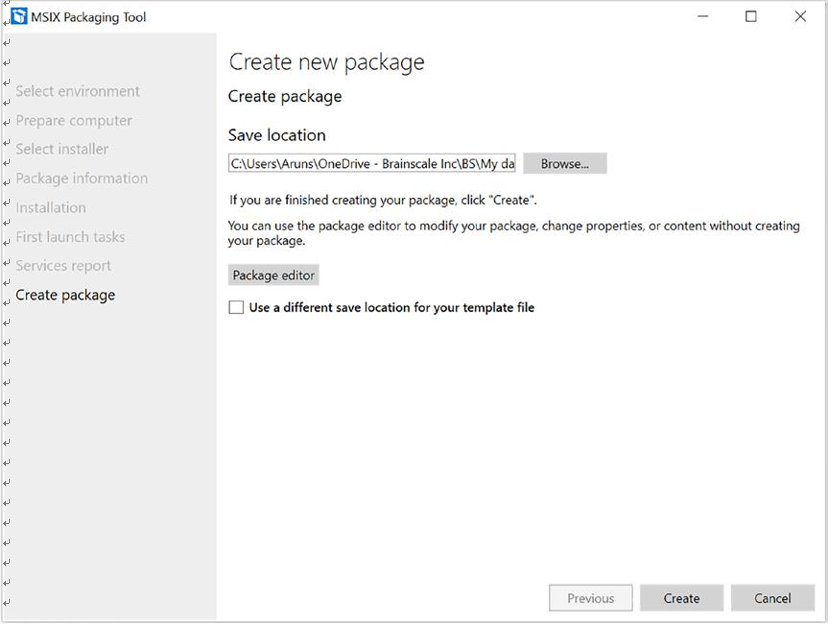
Figure 9-10. MSIX packaging tool, save location
You’ll be presented with a pop-up when the package is created. This pop-up will include the save location, linked to the file location of the newly created package. See Figure 9-11.
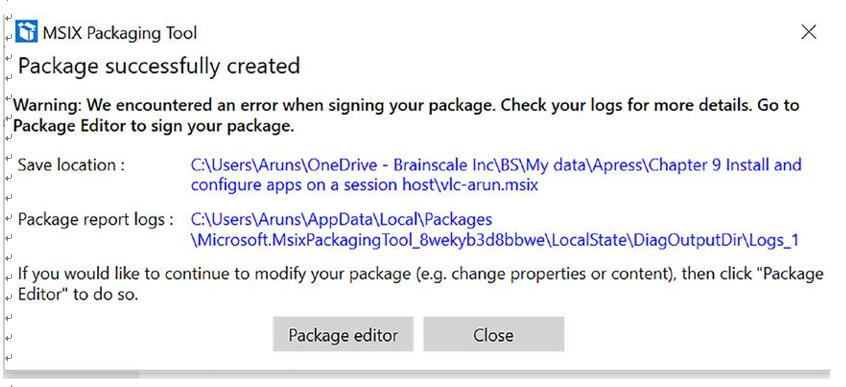
Figure 9-11. MSIX packaging tool, package status
The next step is to unpack the MSIX package to a .vhd or .vhdx file so that you can upload the VHD file to a share folder, where it will be accessible from all Azure Virtual Desktop VMs (read permission). The unpack operation can be performed by the MSIXMGR tool, and it can be downloaded from https://aka.ms/msixmgr. See Figure 9-12.
Open a command prompt in elevated mode and run the following command in the command prompt to create an MSIX image: msixmgr.exe -Unpack -packagePath “C:\Users\Aruns\OneDrive – Brainscale Inc\BS\My data\Apress\Chapter 9 Install and configure apps on a session host\vlc-arun.msix” -destination “C:\Users\Aruns\OneDrive – Brainscale Inc\BS\My data\Apress\Chapter 9 Install and configure apps on a session host\vlc-arun.vhdx” -applyacls -create -vhdSize 200 -filetype “vhdx” -rootDirectory apps
Here is the command syntax:
msixmgr.exe -Unpack -packagePath <path to package> -destination <output folder> [-applyacls] [-create] [-vhdSize <size in MB>] [-filetype <CIM | VHD | VHDX>] [-rootDirectory <rootDirectory>]
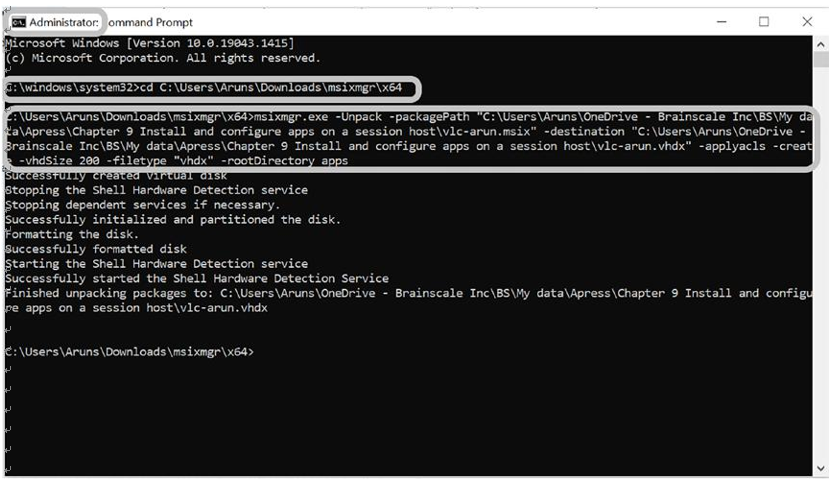
Figure 9-12. MSIX packaging tool, unpack to VHDX
Now that you have created the image, go to the destination folder, and make sure you successfully created the MSIX image (.vhdx). The next step is to upload the .vhdx file to be file share accessible from all Azure Virtual Desktop session hosts with read access.
Once the package is ready in .vhdx and uploaded to a file share, then you can add the MSIX package to the Azure Virtual Desktop by using the Azure portal or PowerShell.