
Install and Configure FSLogix – Implement and Manage FSLogix
Install and Configure FSLogix
FSLogix is mandatory for a pooled host pool with the Windows 10 multisession operating system. You can install FSLogix in the existing Windows 10 multisession golden image, and you can also use a marketplace multisession image, create a VM, and proceed with the FSLogix installation before you start creating a pooled host pool. You will learn how to install FSLogix and capture the image in this and the next chapter. You have to create a VM using Windows 10 multisession image (marketplace or existing) before we can get started with the FSLogix installation. These are the steps to create a VM and install FSLogix:
\ 1.\ Log in to the Azure portal and click “Create a resource” to create a new VM. See Figure 6-3.
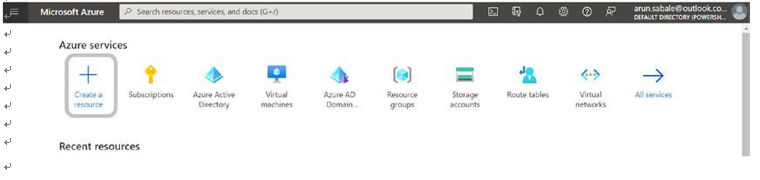
Figure 6-3. FSLogix installation, image VM creation
\ 2.\ Click Compute and then select “Virtual machine.” See Figure 6-4.

Figure 6-4. FSLogix installation, image VM creation- select resource type
\ 3.\ Select a subscription and resource group where you create an image and enter all the information such as the VM name and region. Select an image for the Windows 10 enterprise multisession. See Figure 6-5.
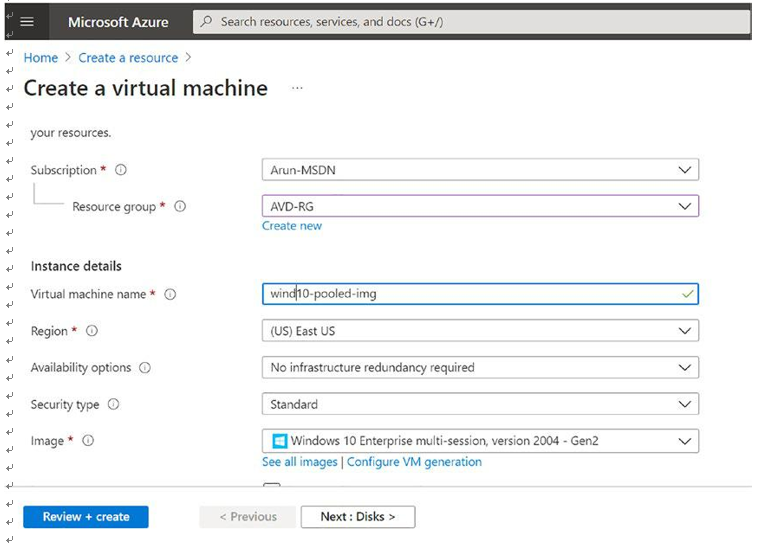
Figure 6-5. FSLogix installation, image VM creation page- virtual machine information
\ 4.\ On the same page, select the size and enter a username and password for the VM. See Figure 6-6.

Figure 6-6. FSLogix installation, image VM creation page 2
\ 5.\ Select the inbound port to 3389, which is required for you to connect to the VM and install FSLogix. Select the Licensing checkbox and click the Next button. See Figure 6-7.
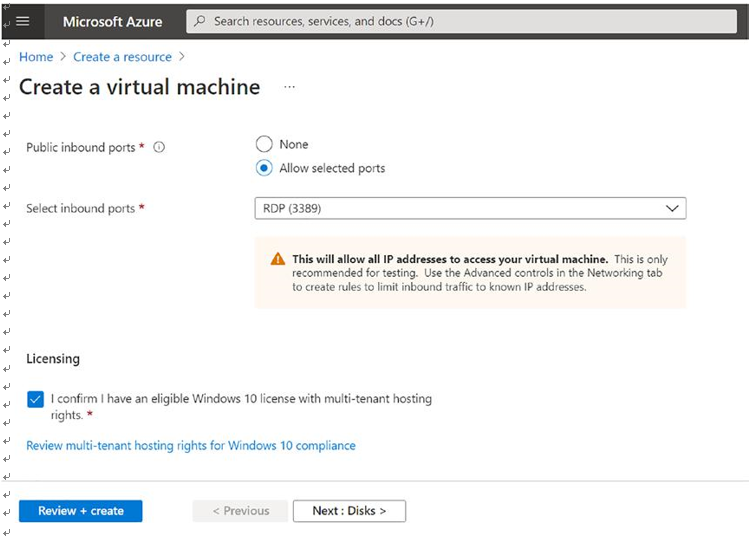
Figure 6-7. FSLogix installation, image VM creation, NSG tab
\ 6.\ On the Disks page, select the HDD type and click Next. See Figure 6-8.
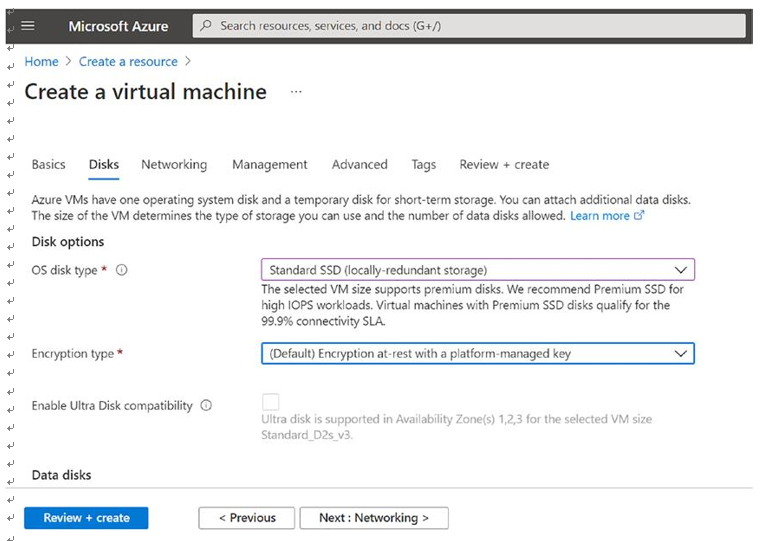
Figure 6-8. FSLogix installation, image VM creation, Disks tab
\ 7.\ On the Networking tab, select the existing VNet or subnet or create a new VNet in case you want to keep the image in an isolated environment. Click the Next button. See Figure 6-9.

Figure 6-9. FSLogix installation, image VM creation, Networking tab
\ 8.\ On the Management tab, deselect “Enable auto-shutdown” so that the VM will not shut down during the image creation process. Keep the auto updates enabled so that the image will have all the updates installed. Click Next once you’re done with all the changes. See Figure 6-10.

Figure 6-10. FSLogix installation, image VM creation, Management tab
\ 9.\ You can keep the default values on the Advanced tab and click the Next button. See Figure 6-11.
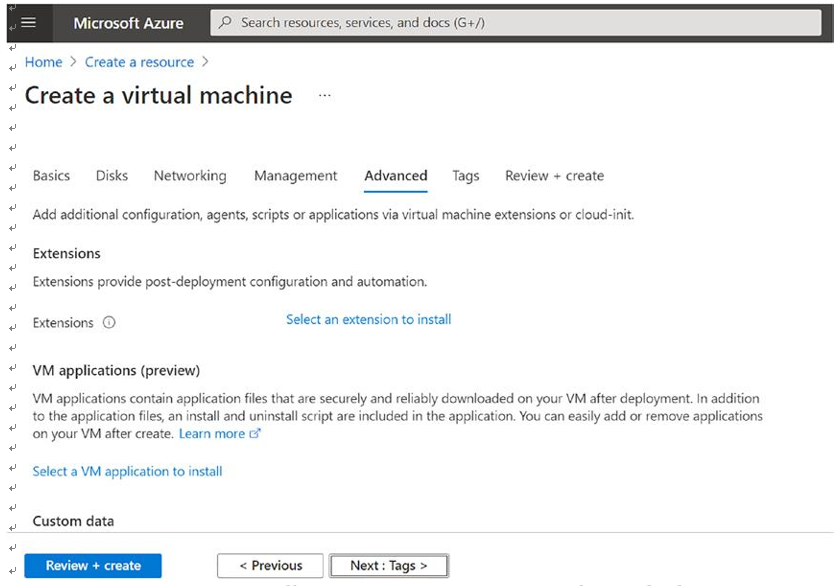
Figure 6-11. FSLogix installation, image VM creation, Advanced tab
\ 10.\ Add tags on the Tags tab and click the Next button. See Figure 6-12.
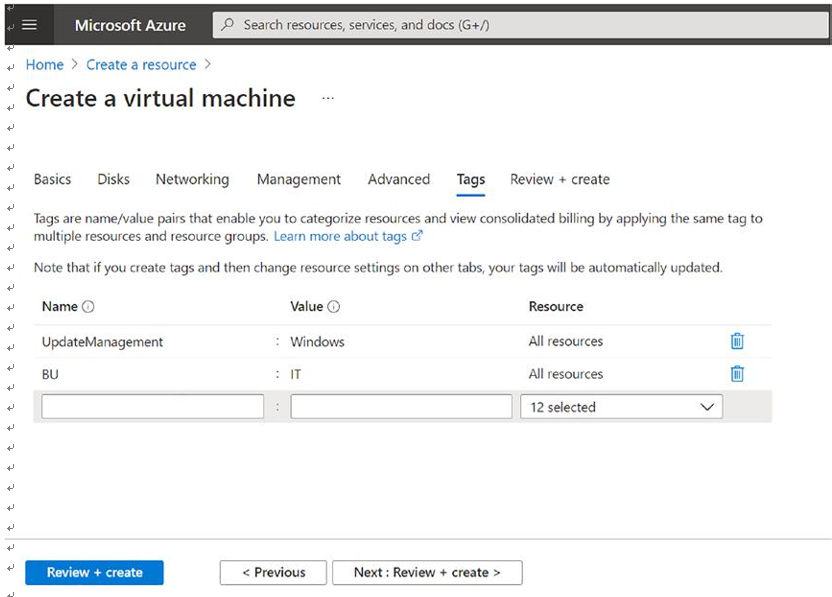
Figure 6-12. FSLogix installation, image VM creation, Tags tab
\ 11.\ Click “Review + create” and then after validation click the Create button. See Figure 6-13.
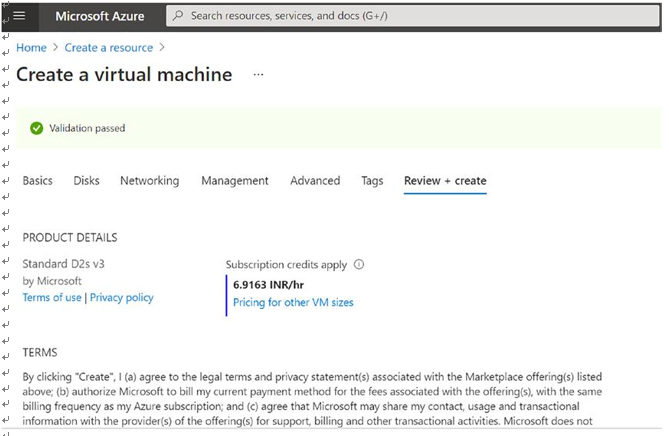
Figure 6-13. FSLogix installation, image VM creation, Review + create tab
\ 12.\ Once the VM is ready, then go to the Overview page and click the Connect button at the top. See Figure 6-14.
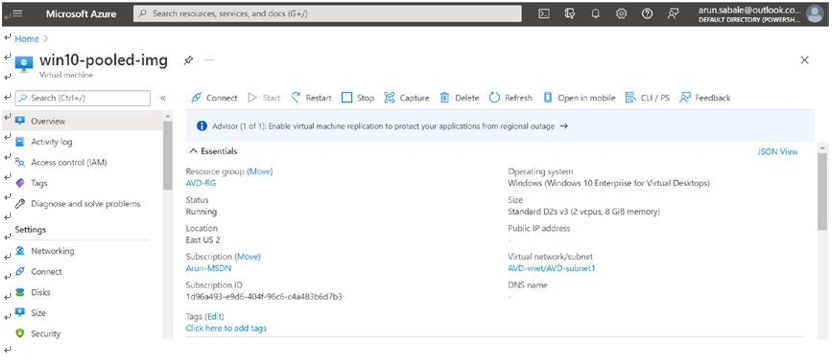
Figure 6-14. FSLogix installation, image VM, Overview page
\ 13.\ Since we have not created a public IP for the image VM, you must use Bastion to connect to the VM. Once you click Bastion, it will ask for the VM credentials and connect to the VM. If Bastion is not enabled on the VM/VNet, then it will prompt you to create a Bastion subnet and enable it. See Figure 6-15.
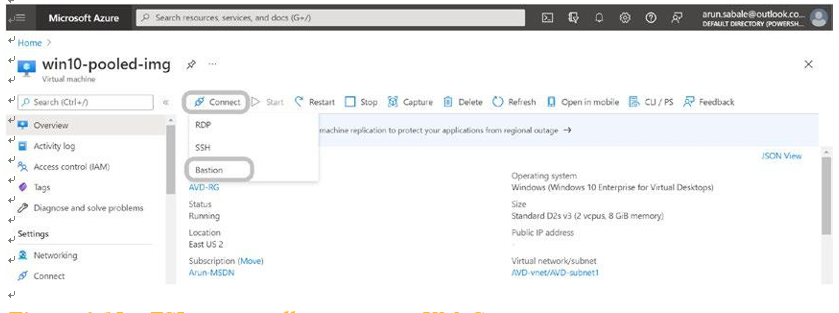
Figure 6-15. FSLogix installation, image VM, Connect menu
\ 14.\ Enter the Bastion credentials and click the Connect button. See Figure 6-16.
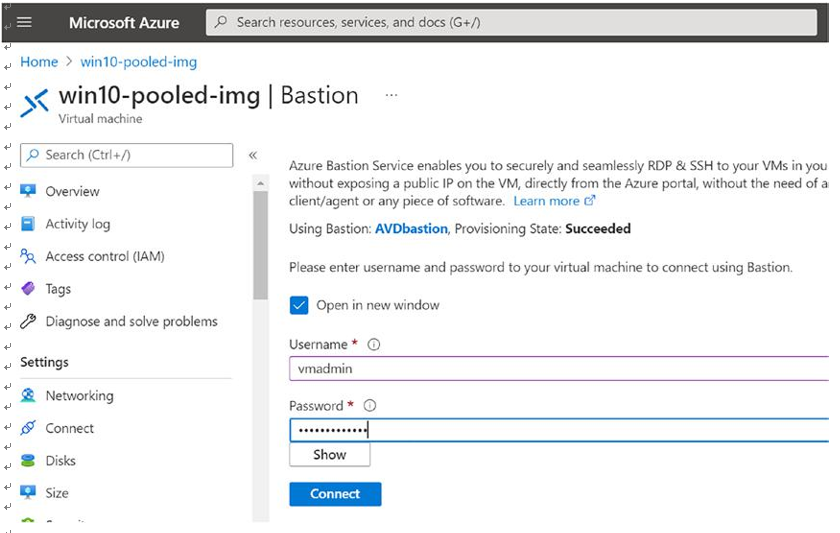
Figure 6-16. FSLogix installation, image VM connect, credentials
\ 15.\ You will be able to see the Windows 10 multisession login screen. See Figure 6-17.
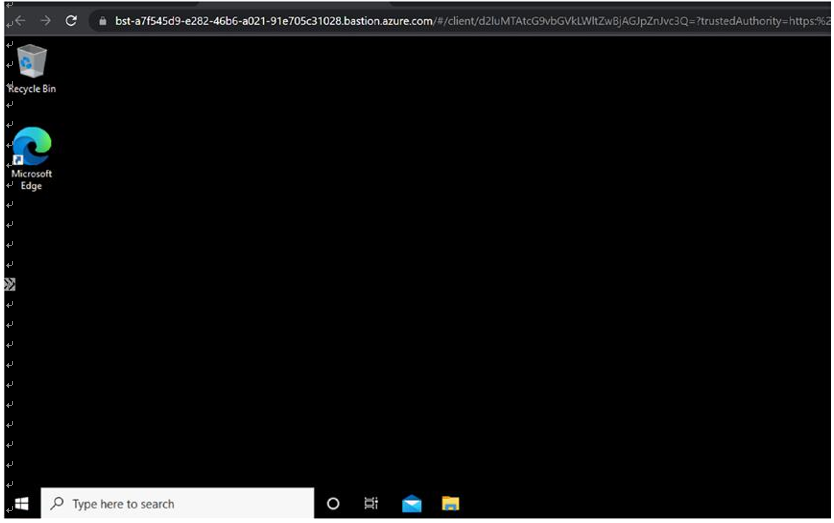
Figure 6-17. FSLogix installation, image VM login screen
\ 16.\ Windows 10 multisession comes with FSLogix pre-installed, so please verify if FSLogix is already there in the VM, before you proceed further with download and installation of FSLogix. Now open your favorite browser and download FSLogix from https:// aka.ms/fslogix/download.
\ 17.\ Extract the downloaded ZIP file and open the connect setup file from the subfolders. If you are using a 64-bit system, then go to the x64 folder and run the FSLogixAppSetup.exe file. See Figure 6-18.
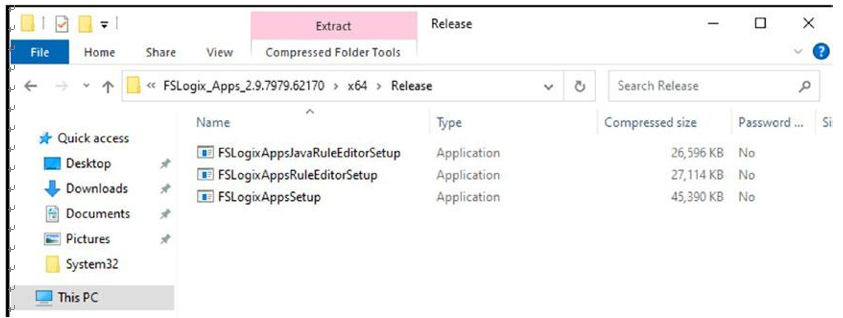
Figure 6-18. FSLogix installation, FSLogix download
\ 18.\ Once you run the FSLogix EXE file, you will be able to see the setup screen, select the license and condition checkbox, and click the Install button. See Figure 6-19.
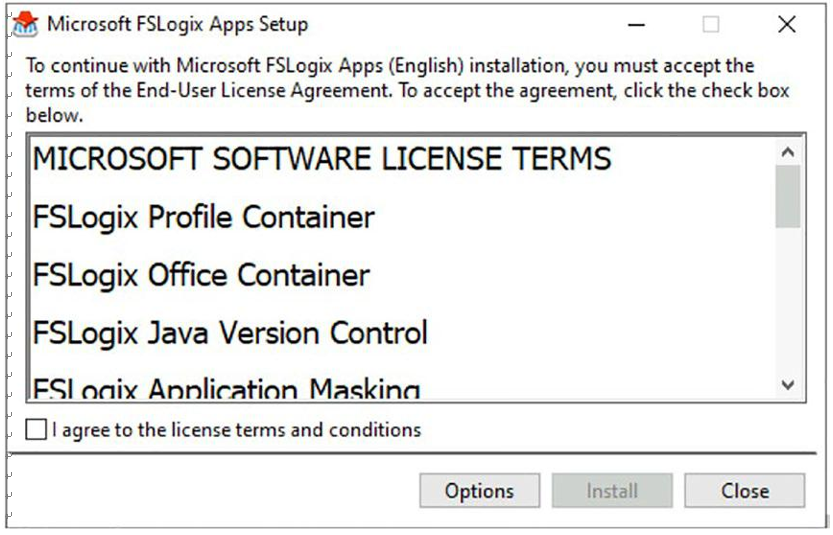
Figure 6-19. FSLogix setup
\ 19.\ Wait for setup to complete. See Figure 6-20.
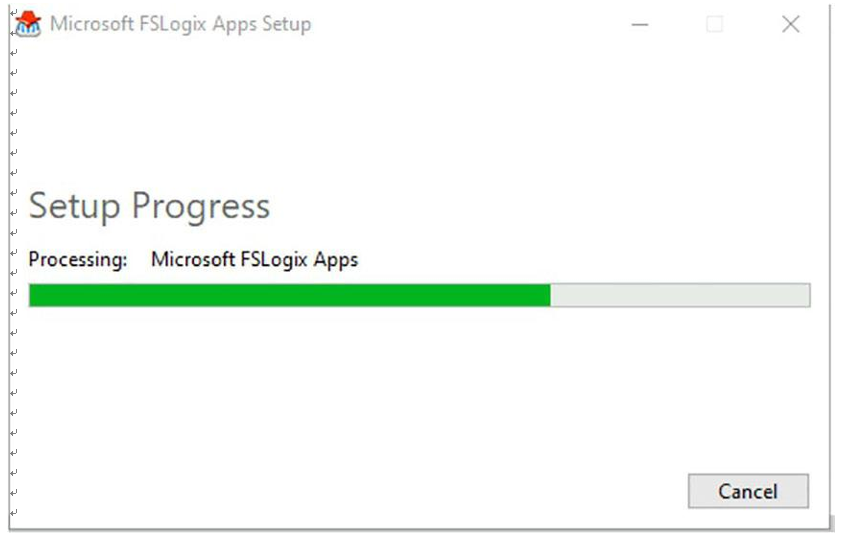
Figure 6-20. FSLogix setup status
\ 20.\ Restart the VM after setup. See Figure 6-21.
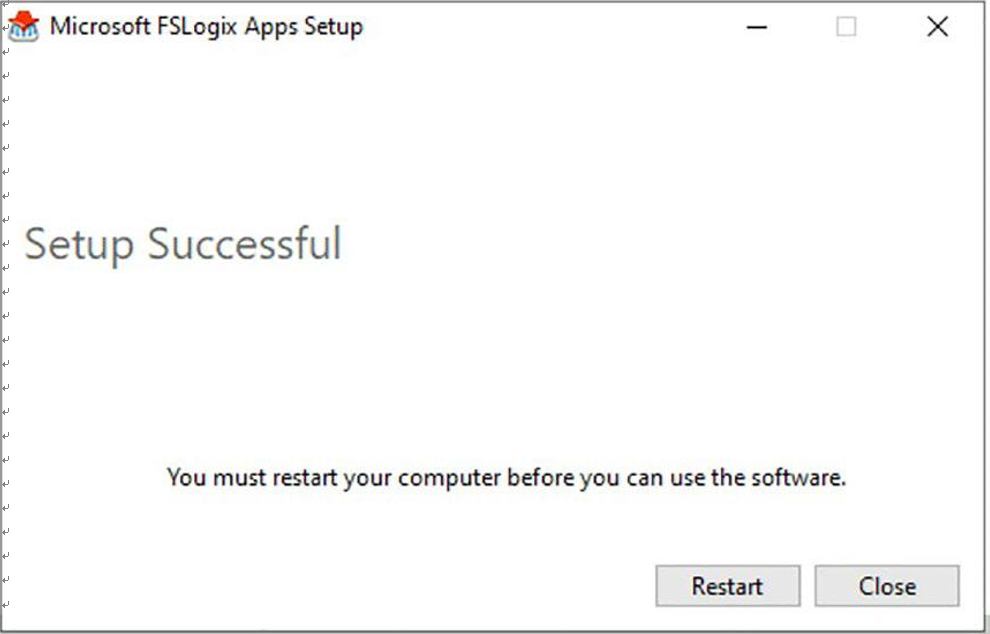
Figure 6-21. FSLogix restart
\ 21.\ The next step would be to configure the FSLogix profile container registry once you are done with the setup and VM reboot.